
jleamont
-
Content Count
6583 -
Joined
-
Last visited
-
Days Won
6
Everything posted by jleamont
-
Rich, thank you. It sounds much worse than it was.
-
Ok, here is my parts list for the project and the overview on how it was completed. You will notice some of the parts listed for the modification were completed utilizing aftermarket performance parts for a Cummins 5.9L in a Dodge pickup truck. This modification is fairly common on a Dodge Ram with a Cummins ISB but since it is a DP coach with a 8.9L ISL some additional modification's had to be completed to make it work properly. The reason it worked so well on the ISL 8.9L is the parts were spec'd for a Modified 5.9L with an output of 425 HP, which is close the same spec as my ISL. Fuel pump; Fass part number FA D08 95G link; http://store.fassride.com/detail/diesel-fuel-pumps/adjustable-diesel-fuel-pumps/adjustable-dodge-ram-cummins/adjustable-fuel-pump-95-gph-dodge-cummins-1998-1999-2000-2001-2002-2003-2004.php Fuel pump set to 17PSI from the factory, not touched. Davco filter; 243950RLFGD-10 (Davco model 243 Cummins filtration design with a 10 micron filter (same spec as the original primary filter, no micron changes were made), none heated, no water in fuel sensor) literature link;http://www.davco.com/forms/tech/F1215.pdf Note; The Davco was not needed, the factory filter could have been utilized, I just wanted to be able to see the condition of the filter and the fuel flowing through it. Fuel, one way check valve; https://www.summitracing.com/parts/sum-220194b Note; Fuel one way check valve, not needed if I kept the factory filter housing, it incorporated a one way check valve from Cummins, since I was not using that filter housing I had to install one in its place. Fuel Cooler; Derale # 15950. Link; http://www.jegs.com/i/Derale/259/15950/10002/-1 Relay; Standard fog light type relay. https://www.summitracing.com/parts/bch-0332019155?seid=srese1&cm_mmc=pla-google-_-shopping-_-srese1-_-bosch-automotive&gclid=CM-66prO_84CFYtbhgodXcQHSw Note; The fuel cooler would have not been needed had I not closed off the fuel tank bay with another coach modification (removal of the propane tank) Fuel pressure gauge; Autometer, modified by their custom department, changed to a black face and chrome bezel to match the factory gauges in the dash. link; http://www.autometer.com/2-rail-press-0-30k-psi-fse-cummins-5-9l-4474.html Fuel pressure gauge on pump; not needed but I wanted to see what the pump was set to and to use as a tool to see how clogged the secondary filter is (compare the two gauges to determine secondary filter condition). link; https://www.summitracing.com/parts/hly-26-502 Factory fuel pump extension wiring harness; Used to connect relay to existing fuel pump connection. Reason; the factory fuel pump only operates on startup for 30 seconds and shuts off, if nothing is connected the "Engine light" will illuminate (ECM thinks the lift pump circuit has failed). I extended the harness to my rear "coach" electrical compartment and used this harness to get the factory connection from the ECM at the factory fuel pump to that compartment. I used a standard Bosch relay on pins 86 and 85 (positive on pin 86, negative on pin 85) to energize the relay, for nothing more than to trick the ECM into thinking the original fuel pump is still connected and operating (the ECM only needs to see resistance). link; http://www.fassride.com/detail/accessories/drp-fuel-pump-relocation-kit/drp-relocation-dodge-ram-cummins/ddrp-fuel-pump-relocation-kit-dodge-cummins-2003-2004.php Fuel system layout; Existing Fuel Tank, one way check valve, Davco primary filter, Fass fuel pump (with Holly gauge mounted to it)(located up front of the coach next to the tank), secondary filter (OEM filter from Cummins located in engine bay, original location) "T" on outlet to injection pump with sending unit for dash mounted pressure gauge, factory hose to the CAPS pump, AKA fuel injection pump. Wiring layout; The new fuel pump is connected to the chassis electrical panel/compartment located in front of the driver steer tire. The Fass pump came with a wiring harness which incorporated a fuse and relay to power up their pump, which is now on a circuit that is ignition switched (key on, pump on). Pin 30 is connected to the Chassis battery lug in that compartment with the inline fuse connector it came with and pin 86 is on an open ignition circuit that was in the main power circuit board not being utilized by Monaco (also with an inline fuse I added). I had to modify their harness as it was designed to connect to the factory pump on a Dodge ram and that was connected to pin 86 on the relay, it was originally designed to power the relay from the factory ECM harness. The Cummins ISB in a Dodge operates differently, when the key is on so is the pump, my existing fuel pump circuit is not (only on for 30 seconds) so a slight alteration of their harness and I just needed a different power signal key/ignition switched to power the relay coil, which is also the reason I could not use my factory fuel pump power harness, plus my harness is located in the rear of the coach and the new pump is in the front next to the fuel tank. Plumbing; Since Monaco in these years plumbed the fuel system with 5/8" hydraulic hose and JIC fittings I continued with this and just made extension hoses to reach the new layout. All fuel lines are only 2 years old, so replacing them was unnecessary, I just needed them to reach places they were not capable of without some extension hoses. All fittings are hydraulic hose fittings that were crimped on. I capped the factory lines no longer needed as follows and left them in the engine bay, just tied out of the way; Line between the OEM primary filter and OEM lift pump, capped. Line from the OEM lift pump to the secondary filter, capped. At the tank I added a section of hose to reach the Primary filter from the fuel tank. Another section to reach from the pump outlet to the existing line that was connected to the fuel tank (runs from the front of the coach to the rear) Another section of hose from the inlet side of the old OEM primary filter to the secondary filter inlet. Returned fuel via the Original fuel pump; by design all excess fuel from the injection pump and cylinder head return to the factory lift pump, which in turn send the excess fuel to the tank (it is only a manifold for the points to connect to on this portion of the pump). This would normally be untouched, due to closing off the fuel tank bay, the tank does not get much air circulated around it to cool the fuel. I have installed a fuel cooler to correct this. One line from the cooler attaches to the old pump (return side of the pump) and the other connected the cooler and the existing return line from the rear of the coach to the fuel tank. Any questions please feel free to ask.
-
Blake, not sure, this is one area that didn't make sense to me, that was why I asked. The information on these that is out there is vague especially when it comes to GVWR. I was expecting you to tell me yours was 36,000 (same as Mine).
-
I cannot speak to the specific make of chip you are referring to. I did on our old coach add a Banks trans programmer (among other Banks items). I will say it defiantly improved my down shifts (stopped 70% of the unnecessary) and firmed up all of the others. My transmission temps dropped also, which is a big contributor to transmission failures. As always later I added a reinforced all aluminum transmission pan (BD Diesel product) which solves another common Ford problem....case warpage from torque and heat. Plus it gave me another few quarts. FYI the gas and diesel share a similar transmission, well same pan anyway in 2003.
-
Blake, what is the GVWR rating on your coach?
-
Blake, from what I have been told after 2002 it would be an RR8S, some of the 02' (depending on production date) could be an RR8S or RM8H. My coach was finished on my birthday 7/7/2001 (how ironic, I still laugh about that) although it was a Saturday I really should be worried . what year is your coach, and do you have a production date? In the morning, have you been able to see the roof/wall supports because of the morning dew? If so and yours is an 02 measure the beams, I have 3" wide beams in triangles all the way down both side walls. Scroll through the attachment you can see what I'm talking about. RM8 H http://cmrvs.com/windsor/brochure.pdf RR8S http://library.rvusa.com/brochure/04Windsor.pdf Notice no side wall structure displayed, it's part of the body on the RR8S The RR8S is similar but aluminum wall structure and more part of the body rather than part of the chassis integration, smaller and bolted to the main chassis not welded and not all steel. Strong resemblance to the RM8H. The suspension is almost identical except the trailing arms and H is larger tubing and heavier. A completed coach (so I was told) look almost identical unless placed side by side. I really wanted some literature on it to get the full story in print so I could compare both myself.
-
Bill, I also like the thought of testing the tower before it ever touched any part of my electrical system. I do the same with the portable unit and have also walked around testing towers. A built in unit will shut you down but often is not convenient to access or doesn't display why you are shut down.
-
Yea, I got to laughing when I read it
-
I saw the one in your picture looks a bit too close for comfort (for me anyway) I figured I should mention it to you just in case you hadn't noticed.
-
Tim, glad to hear you are all fixed up and safe. That's one thing you no longer have to worry about. happy trails
-
Kay, agreed!
-
Brett, agreed.. On here it's about helping each other. On the others it's more like a business where they benefit from being loyal. We are happy to be FMCA members and helping one another.
-
Brett, great idea. When I get home And pull all of my data I will do that.
-
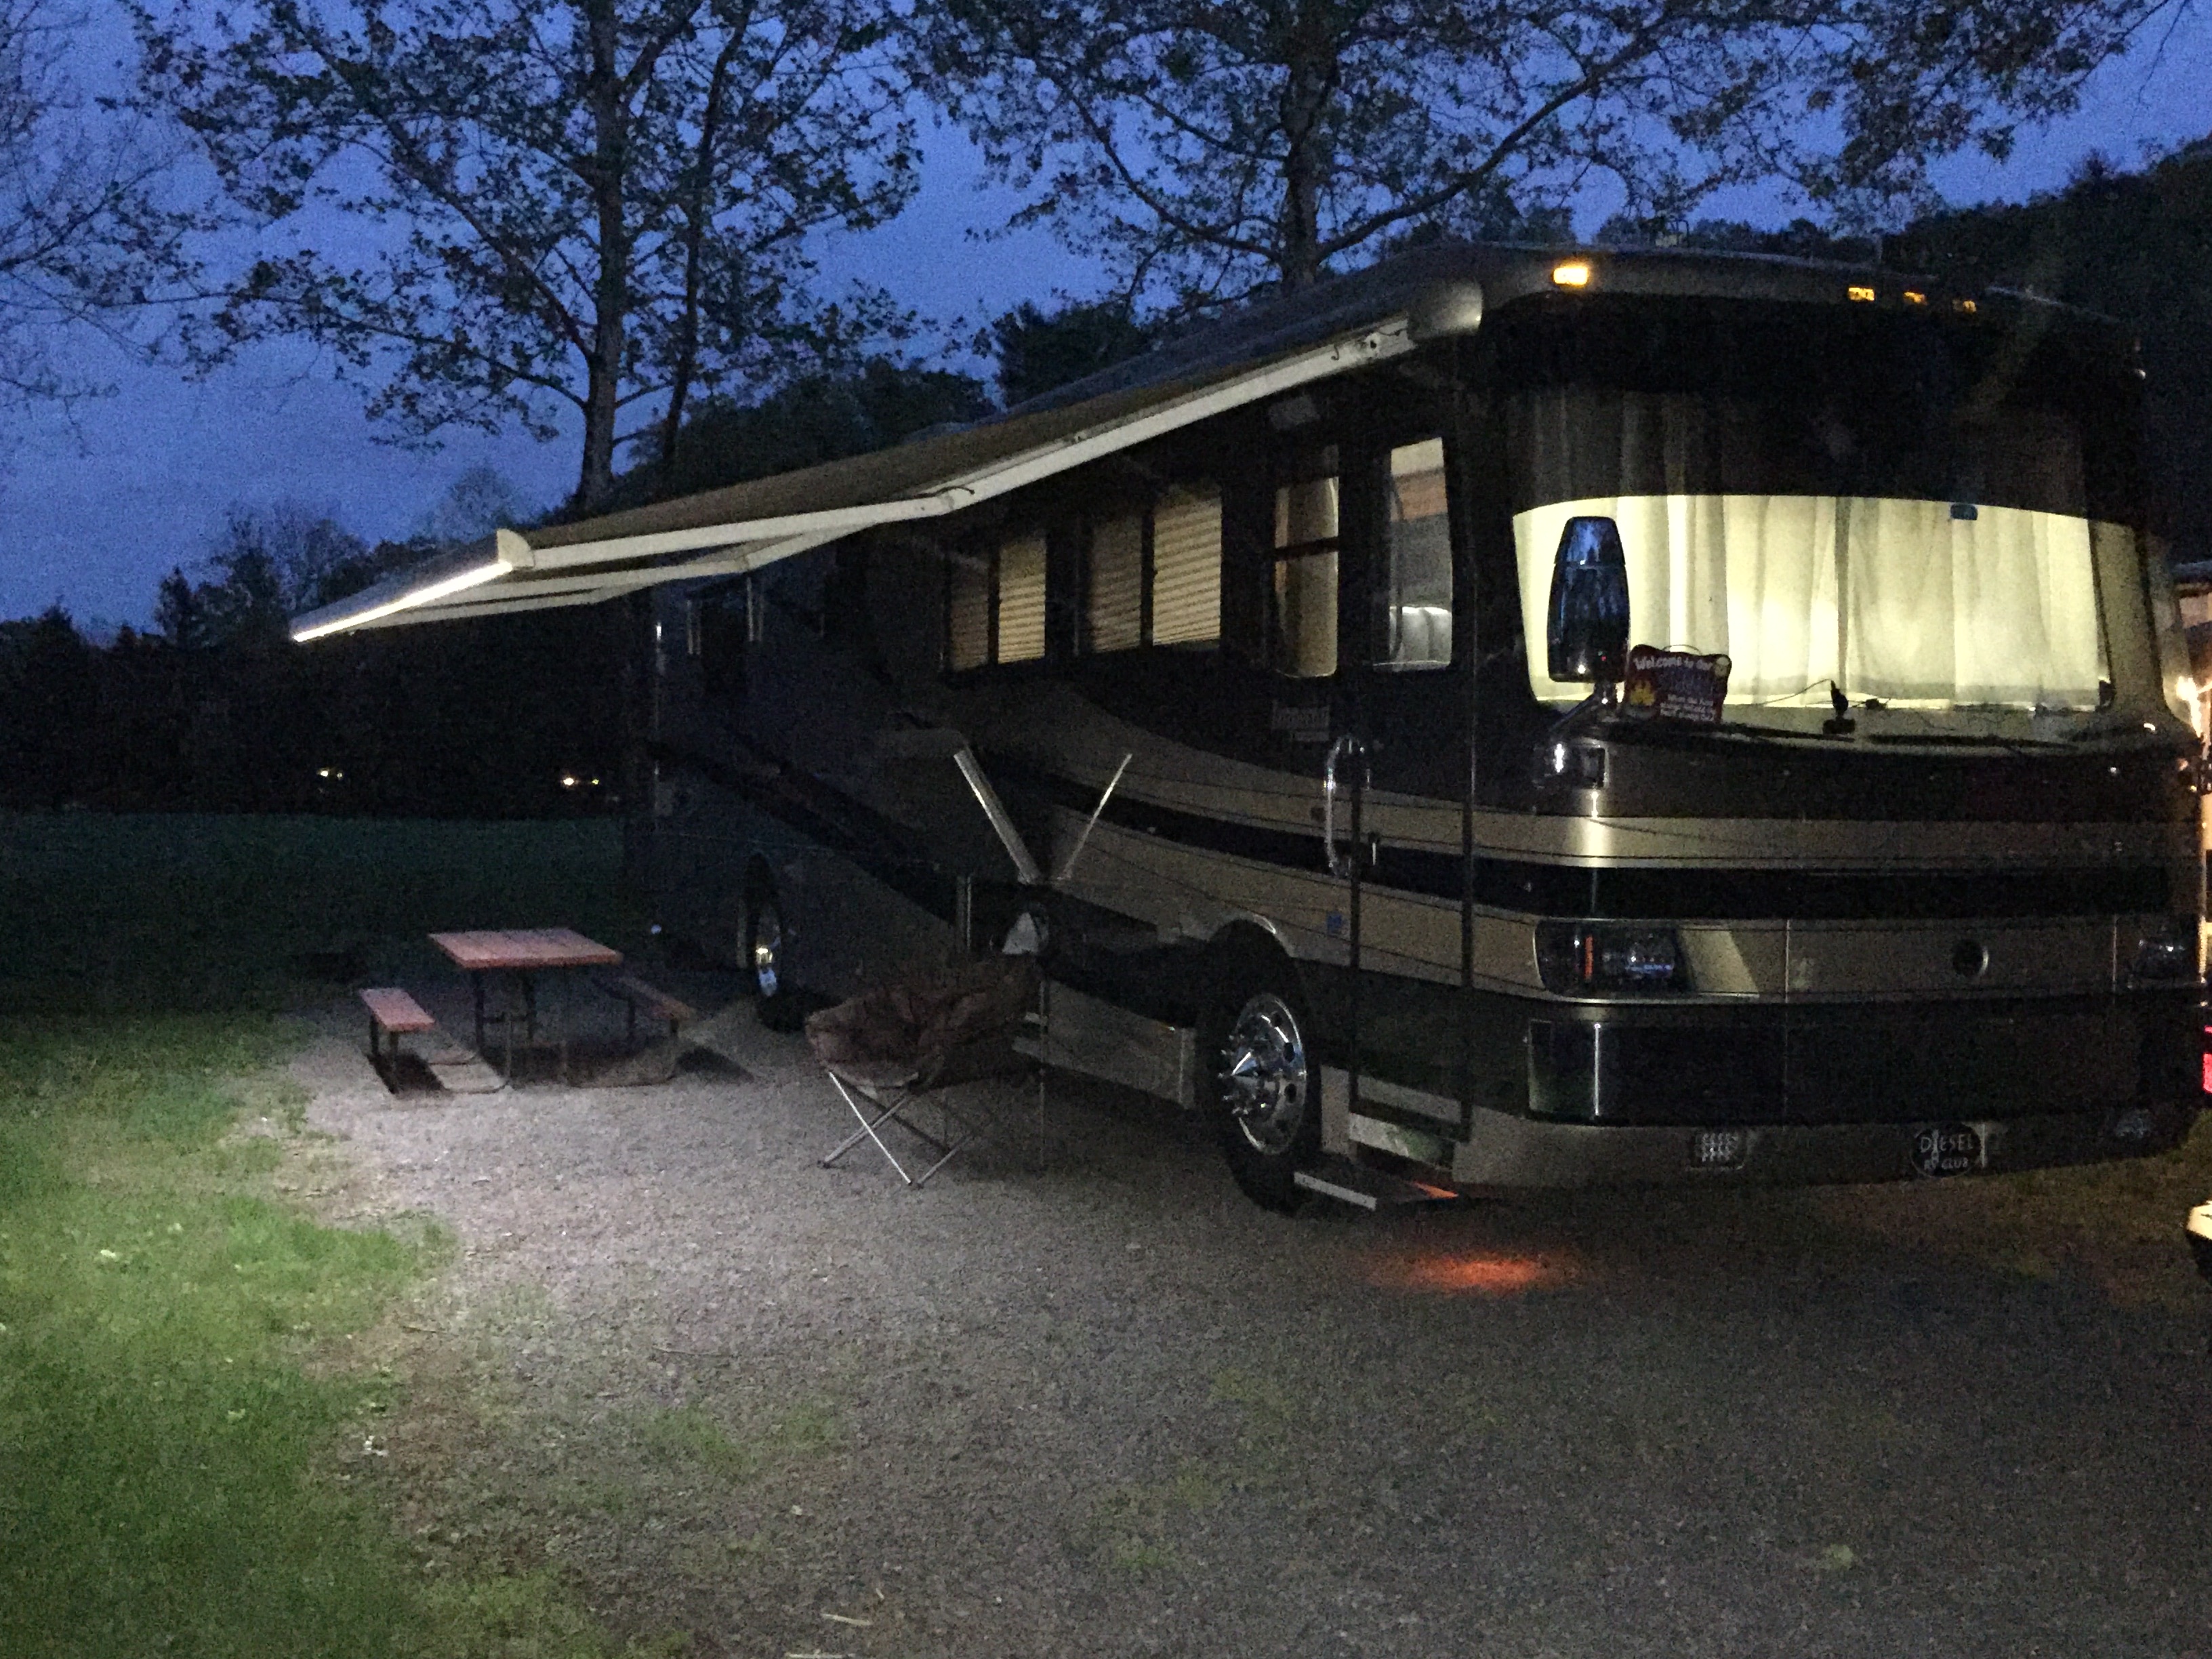
Final update: drove it into the hills of Lancaster co PA for a holiday weekend getaway. NEVER have I had this much power, boost gauge at 25 in a blink coach will pull you into the seat. Idles smoother and accelerates much faster. Very Happy with this modification.
-
Herman, I have the exact problem!
-
YUP
-
I agree with you on space. One lesson I learned, don't buy something with the intentions of upgrading later, you will soon learn that the depreciation will pass you along the way and you will loose a fair amount of money when trying to trade out. It is tough to locate a nice used motorhome up in the NE, I just got lucky. I almost jumped on a Plane and headed to TX, FL or AZ, it seems that is where they all are. Are you looking for a A, or C? Gas or Diesel?
-
Wow, sounds like you have your work cutout for you. Glad you have it back!
-
Debora, I do not check mine with a thermometer, I wave my hand near the hubs, and sniff. If it smells hot, similar to what you experienced when the initial breakdown occurred then I would get down and look under, if you see smoke, then use the thermometer and defiantly look. For a base line try the left from right after a drive, they should be close to the same temperatures. If one is significantly higher, dig deeper. check it often until you feel comfortable and gain a base line. It would be hard for someone to tell you a temp range, too many variables i.e. brake system design, tire pressures, weight variation in each coach. Glad you are all fixed up!
-
I can relate to this post. I hooked the surround system to the new TV and the bottom of the new TV curves and the trim does not, so I get some sound out, when I need extra I turn on the surround sound. I did insulate the nose cap while I was inside of the a TV box so it helps push the sound forward. haven't touched the rear TV yet, my box looks just like Tom's, since tis TV is still attached and works it just might stay. Tom nice job!
-
The hardest part of obtaining weight is just that... I have thought about pulling onto a CAT scale after refueling but to go in and out for each axle is only part of what I really need to know. Before you know it I will have an angry trucker to deal with while I am blocking the scales, then un hook and re connect the toad....you can see where this is going right, more of a hassle for only half of the information. I might just have to wait for the next rally so I can get to have it weighed, for now when you see a bump in the road bite down so your fillings don't fall out ....honestly its not that bad..
-
Tireman, caution..... I had the same set up on my class C, my extension chaffed on the wheel cover and started to leak while driving down I-95. TPMS saved us and the tire. I went to an auto parts store and bought a piece of rubber hose, cut it and zip tied it to the hose where it passes through the Wheel covers on all 4 to keep it protected. While you drive they will rub the wheel cover.
-
Two and a half years have passed since we bought this coach. All this time I was told it was built on a Roadmaster RR8S chassis. Every time I buy a part for that chassis it never fits, i.e. Safe T Plus. Come to find out it is actually on a RM8H Semi Monocoque chassis. While the RR8S publications on some call it Semi Monocoque it actually isn't (in the early 2000's there was a bunch of chassis designs changed and companies merging which muddied up the water). up until this time I thought it was a RR8S that was Semi Monocoque. This design was abandoned due to its weight and cost to produce, originally designed as a bus chassis in the 80's by Chrysler and sold to Roadmaster. That and it can stand up on its roof without collapsing is all I am able to locate. Anyone have any literature on the RM8H chassis? All of the old links have been shut down in the past few years, I just want to read up on it and learn.
-
Puff, I know the feeling, almost 19 years and still get surprised on occasion. Glad to hear you are hitting the road, some different scenery will help relax. Seems to work for us even if only for a weekend. Enjoy, if you head this way over the winter we will have to meet up.
-
Nice job!
