

andyshane
-
Content Count
257 -
Joined
-
Last visited
-
Days Won
4
Everything posted by andyshane
-
I have a 2005 Excursion with the Spartan chassis, it rode well but had some pronounced sway during slow speed maneuvering over uneven pavement. Putting Koni FSD gas shocks on in place of the OEM Bilsteins, and re-bushing the anti-away bar* made for a dramatic difference. In addition to getting Brett's info, could you snap a photo of each side of the front axle looking outboard from the center? * I've programmed retorquing the anti-sway bar fasteners every three months, that seems to help. They tend to loosen, under load.
-

Atwood Exterior Panel Takes Flight En Route
andyshane replied to andyshane's topic in Systems and Appliances
Super advice, Herman. Anyone who uses a heat gun must understand it has the capability of doing damage. Steam is probably better for those who aren't good with "the gun." Yes, all plastic deteriorates. I cannot imagine the injection-mold subframe lasting much longer than the customary 5-8 years. Owners should consider this a safety alert. Get up close to your frames and look for signs they're coming apart. That steel cover could do some serious damage, cartwheeling through traffic. 'Best not to write our names inside them... -
Atwood Exterior Panel Takes Flight En Route
andyshane replied to andyshane's topic in Systems and Appliances
Both of the Atwood subframes are on the rig. Some pointers: Use a heat gun gently to soften the putty when removing the old frames. Six of the screws go through bent-over tabs that must be straightened before the old frame can be removed. Clean the old putty away from the frame, stretch new putty tape to thin it, work the putty inward against the furnace cabinet edge, apply heat as needed. Insert new frame while putty is still warm, gently heat the frame to soften putty and push firmly to set the frame against the coach. Lightly set the screws in place, at first without engaging/bending the tabs. By warming the frame and tightening the screws in stages, the plastic frame is less likely to crack anew. When satisfied with frame security, check cover alignment. Remove tab-position screws and bend tabs snugly, re-insert screws through tabs. Seal the lower edge and tab elbows with silicone. Warm each lug in succession with a heat gun, slowly tighten a heated screw into each to "train" the lug to threads. Using a plastic putty knife, cut away all exposed putty. Mark frames with installation date, a reminder to install new frames in five years. Gently tighten screws with cover in place. I found a tough plastic putty knife helpful, another that I chopped an inch off the blade to make it stronger, for scraping. Black window silicone seal is a good choice to do the waterproofing, along the bottom edge. A pick or small nail helps, to locate screw holes through putty. -
Months ago, I first noticed that the corner trim in the bathroom had a little gap, at the bottom. This is the inside corner strip behind the toilet, forward outboard. After carefully inserting a brad or two to lock it down, it came back up. Then, came the discovery that the trim-to-wall gap varied with slide extension! To make a long story brief, the passenger-side slideout pushes the coach's wall slightly (about 1/16") outward upon reaching full extension! So, today's project is to align the slide. This is not as hard as it sounds, verifying slideout alignment is something any owner, regardless of sex, creed, age or mechanical abilities can do. The first step: go to http://www.powergearus.com/ and find the appropriate manual. Then, I extended the slideout to an arbitrary point (about three inches) and put a rule to the edge. Sure enough, the spacing was different between the front and back edges, but not in a way that made sense. THEN, I put the rule under the slideout and got a surprise. The forward rail led the aft rail on extension by a slight amount. 'Turns out, that is the space between the gear teeth below, on the drive shaft. Today, I'll slip off that gear, nudge the room in a tad to make it perfectly parallel with the coach side, and reinstall the gear. The results will be listed in an addendum below. I undid one of the two gears by releasing tension and sliding it aft, off the track. Then, KayCee gave short bursts in/out until the front and back were the exact same distance from the side of the coach. Then, the gear was slid back into place. While the results are vastly improved, I'll bring it inboard one notch in the morning, so the room is exactly parallel to the body, on retraction. At present, the bottom contacts the side slightly after the top, exerts assymetrical pressure on the wall. Voila! I removed a tilt-bin in the kitchen, and laid eyes on the area where the slideout presses to the wall, only to discover a large wiring bundle had migrated to be PINCHED between the two. Okay, this fails on two counts. First, repeatedly crushing 110VAC romex is baaad thing. Second, I'd say the same thing about distorting exterior walls. So, using the technique of measured consensus with the other slides, I rigged this one to track simultaneously and to be as vertical as possible in the retracted position. It is a little bothersome that the absolute margin for adjustment is reached shortly prior to a perfectly parallel pre-tightening seal gap is achieved; but, that might be due to factory error or structural shifting. The slide is within an eight of an inch of perfection, which is within tolerances.
-
This is a safety item, re the driver and passenger windows and arguably the one behind the passenger (if one is installed). Take it from the voice of experience: three iterations down the road (fogged, versus reglazed with tint and now reglazed without tint film), I'm ashamed to say I waited so long. HUGE difference in my ability to both drive and park.
-
While the manufacturers say you can go to ten years with annual inspections of the tires, I'm inclined to replace the steering tires at five years, cautiously keep the rears until ten. You might buy a two year bonus for indoor storage if you feel brave.
-
Roadmaster pledged to review their tire supplier, to consider changing sources. But, their advertising currently shows no such transition. Your link has some breathtaking reviews, suggesting the Carlisles might live up to their terrible nickname, "China Bomb." To Carlisle's credit, they have reimbursed us fully for our damages, and it is entirely possible that they've made adjustments to their production to rectify problems. The Catch 22 is that bannering such changes might expose the company to liability, be construed as an admission of guilt. That's why we have government regulators; the Feds are on notice that consumers using the model of tires supplied on earlier Roadmasters could be in danger. Meanwhile, our new Karrier brand tires have accumulated a couple of thousand miles without problems. As mentioned earlier, they are also Chinese models; so, a blanket indictment of products made in China is not the answer (although I'll happily pay extra for a superior American-made tire that size, when they become available). I might add that these dollies have to do a lot of work, it is important that the manufacturers' recommendations for alignment and other periodic maintenance be followed to a tee. Like our RVs themselves, the machinery is subject to harsher loading than a family car, requires lots of TLC.
-
We dealt with sub-zero weather by disconnecting the fresh water hose after filling the tank, placed a work light in the compartment that houses the water pump. I used a worklight in the plumbing bay and damaged the black water slide valve, so make sure it is secured to prevent movement. Halogen lamps work great, but need to be located a safe distance from plastic fixtures.
-
Atwood Exterior Panel Takes Flight En Route
andyshane replied to andyshane's topic in Systems and Appliances
Thanks, Herman That's a great idea for all of us. Mine have big stainless fenders, I didn't understand the significance of them, at first. -
During a safety check yesterday, I was shocked to see a hole in the side of my coach revealing my front furnace blower and circuit board. And, the rear furnace cover was hanging by two screws. To make a long story short, I'd serviced both in the dwindling daylight the day before, carefully reattached. What I failed to notice, was that the black plastic frames beneath each cover had become brittle and cracked. When I seated the screws, the plastic lugs beneath became were cracked and jiggled loose underway. Owners are cautioned to check these frames periodically. This is a 7 year old rig, stored indoors!
-
Mystery solved! I was too lazy to break out the diagrams and trace the errant wire's connections, but there was indeed a pin backed out of a two-wire connector under the driver's seat. For some reason, when it swung over and contacted the mast bolted to the floor <zap!> awning deployment. It reminds me of the old admonishment from my days flying the Fokker F100: whenever you had the brakes fail, they might be recovered by switching Window Heat to Off A happy and safe Thanksgiving to everyone!! The funniest part: which direction will a driver lean, when he/she hears that awning motor activate rolling down the highway? That's correct, to the right. Full deployment would've been assured... Jeesh.
-
Okay, this is one for the record books. My wife was on a ladder tonight, outside the coach, helping to reinstall a window we'd re-glazed and tinted. I was sitting in the driver's seat, leaned right to retrieve a cordless electric screwdriver from atop the dashboard. There was a familiar sound; it dawned that, outside, the large awning was extending! Indeed, some testing revealed that a person sitting in the driver's seat can extend the awning by placing all his/her weight on the right side of the seat. This could be awkward, rolling down the highway. Needless to say, all the electrical connectors under the driver's seat will be disconnected, reattached and secured tomorrow. We're poised to make a 400 mile Thanksgiving trip, and the last thing I'd like to leave alongside the highway en route is that big awning assembly. Meanwhile, has anyone out there experienced this?
-
Debating Dolly Against Tow Bar, And Need Help
andyshane replied to DavDona's topic in Toads-Towed Behind Motorhome
I've done this a short distance with my Tundra, and it worked fine. However, from what I'm hearing, not a good idea. Heavy rig, would definitely need brakes on dolly Some have said it wrecks front end alignment of the toad, wears out tires The steering wheel lock is the only protection you have against slinging the front end into oncoming traffic It might warrant law enforcement attention, out on the road -
Debating Dolly Against Tow Bar, And Need Help
andyshane replied to DavDona's topic in Toads-Towed Behind Motorhome
Wow, so much extra information with this thread. All of it is good; we've got great field reporters. Reference the earlier notes: We've never had a problem, stowing the dolly during stopovers. But, remember that a dolly can only remain hooked up at a longer pull-thru site. Otherwise, there is some muscle and dexterity needed, rolling the thing around. That aspect, rather than setup, will deter less fit individuals from using a dolly. A dolly adds maintenance and storage obligations. Per manufacturer procedure, I align mine and calibrate the brakes every few thousand miles. Unlike 4-down towing, dolly tires don't have a big margin between load rating and actual loading in many cases. Both OEM tires (cheap Chinese Carlisles) that came on my Roadmaster 2000-1 blew, with perfect inflation, within the first few thousand miles of use. Such a blowout will destroy the dolly fender, could mar the toad. Accomplished dolly owners can hook up their toads without kneeling, in less than five minutes. My wife and I work as a team, starting with her driving to the base of the ramps and then allowing me to steer the car onto the dolly from alongside. I provide perfect alignment, and she can stop at the exact point based on feel and the <Clunk> of the lock seating. TPMS is critical, no matter which type of towing is employed. Due to higher loading, dolly tire temps will be higher, the pressure must be carefully maintained at the sidewall value (cold inflation). Our TireTraker system requires no signal boosting, I'm a big fan of the company. We all seem to agree that if money is no object, or physical fitness is an issue, or you have no intent on using more than one toad over a long period of time, 4-down towing is probably the way to go. But, for physically fit RV'ers who'd like to change cars (either amongst a fleet, or over time), with ample storage at home, the dolly is a real asset. -
Interestingly, the tire center asked me to raise mine to replace the steering tires, recently. With the jacks extended, a raised front tire might be bad form, but simple physics make it relatively inconsequential. Of course, one problem lies with hyper-extension of the jacks. Your jacks are strongest when retracted, flimsy when extended. Minimal extension protects them. Bend one, and it is going to stay extended; that will have a profound effect on your gas mileage I'd be embarrassed, think that light under a front tire suggests to my neighbors that I'm new to RV travel. Not to mention that whopper of a stepdown, by the door... Like Herman says, those rear wheels are a whole different game. Light under a rear tire tells your neighbors not to stand close to your rig, clear the way downhill from it in preparation for your upcoming accident. In any case, follow the manufacturer's instructions. Addendum: The previous owner bent two jacks due to hyperextension, they had to be removed at the site, later replaced.
-
I thought you might benefit from this. It might save you a gob of money, in the long run. After friends sent their Discovery in for radiator service and ended up with a huge bill, I starting getting more serious about tending to mine*. Bear in mind the buddy who owned mine prior to our purchase periodically raised the closet floor and shot degreaser onto the engine and radiator, and I've done the same every six months or so in nearly two years of steady use. We had been overheating, but only under extreme conditions, eg making 2-mile constant climb at 60 mph in N. Arkansas with 100+F ambient temps (120+ against the pavement). Even then, a short downhill run with the exhaust brake on to boost rpms, or pulling over resulted in immediate return to normal. A recent trip to Galveston resulted in perfect temps, albeit with 85F outside. Still, after the trip, I applied degreaser to the aft side of the radiator, waiting 20 minutes, shot the fins with a safe blast from the hose. What looked like mouse turds showed up in the driveway. Lil' greasy mouse turds that turned into a smudge when rolled between my fingers, rather than the wholesome, nutty but slightly gritty goodness of the real thing... Clearly, the engine side of the radiator was a muffin mold of sorts for these little pellets. Using the heavy duty degreaser in a spray bottle, I hit it from the back side -- the idea was it'd pass through to the engine side -- another five or so times, waiting and rinsing each time. The next morning, I jammed a digital camera up inside the shroud and shot a series of photos. One spot on the lower right was gummed up solid, despite repeated cleaning. So, I got a gallon sprayer and loaded a 1:4 mix of the Simple Green Pro HD from Home Depot yesterday, rated safe for aluminum, sprayed the engine side of the radiator while hot, let it sit for 20 minutes and then rinsed. There was quite a difference, althought further cleaning was needed. As a result of this discovery, I'm programming a misting of degreaser up under the shroud on the engine side, after every trip. It only takes a minute or two, can be paired up with hooking up the black tank rinse, done at the same interval. Thanks for the comments below. Indeed, the moral to the story was that degreaser must always be applied to both sides of the radiator, with an emphasis on the upwind eg front side. Use good judgement to protect the delicate fins: some pressure waters have "Delicate" tips and are appropriate; if in doubt, use a hose-end sprayer.
-
I saved $479 on two 275/70R/22.5 XZEs. It was easy, seamless.
-
I'm more of a student here than instructor; but, two of us who own Class A motorhomes just traversed the Pacific, arguing this one. My Monaco-owner captain swears that the house batteries have to be removed from recharging for the duration of storage, to maximize battery life. 'Gotta admit, my Trojans' terminals go Chia Pet and need to be cleaned regularly; I replenish water every two months. The downside: the microwave clock needs to be reset, every time I "power-up." Anyone else do this?
-
Holiday Rambler Front and End Caps Never Attached at Factory
andyshane replied to violetrayes's topic in Type A motorhomes
What year? -
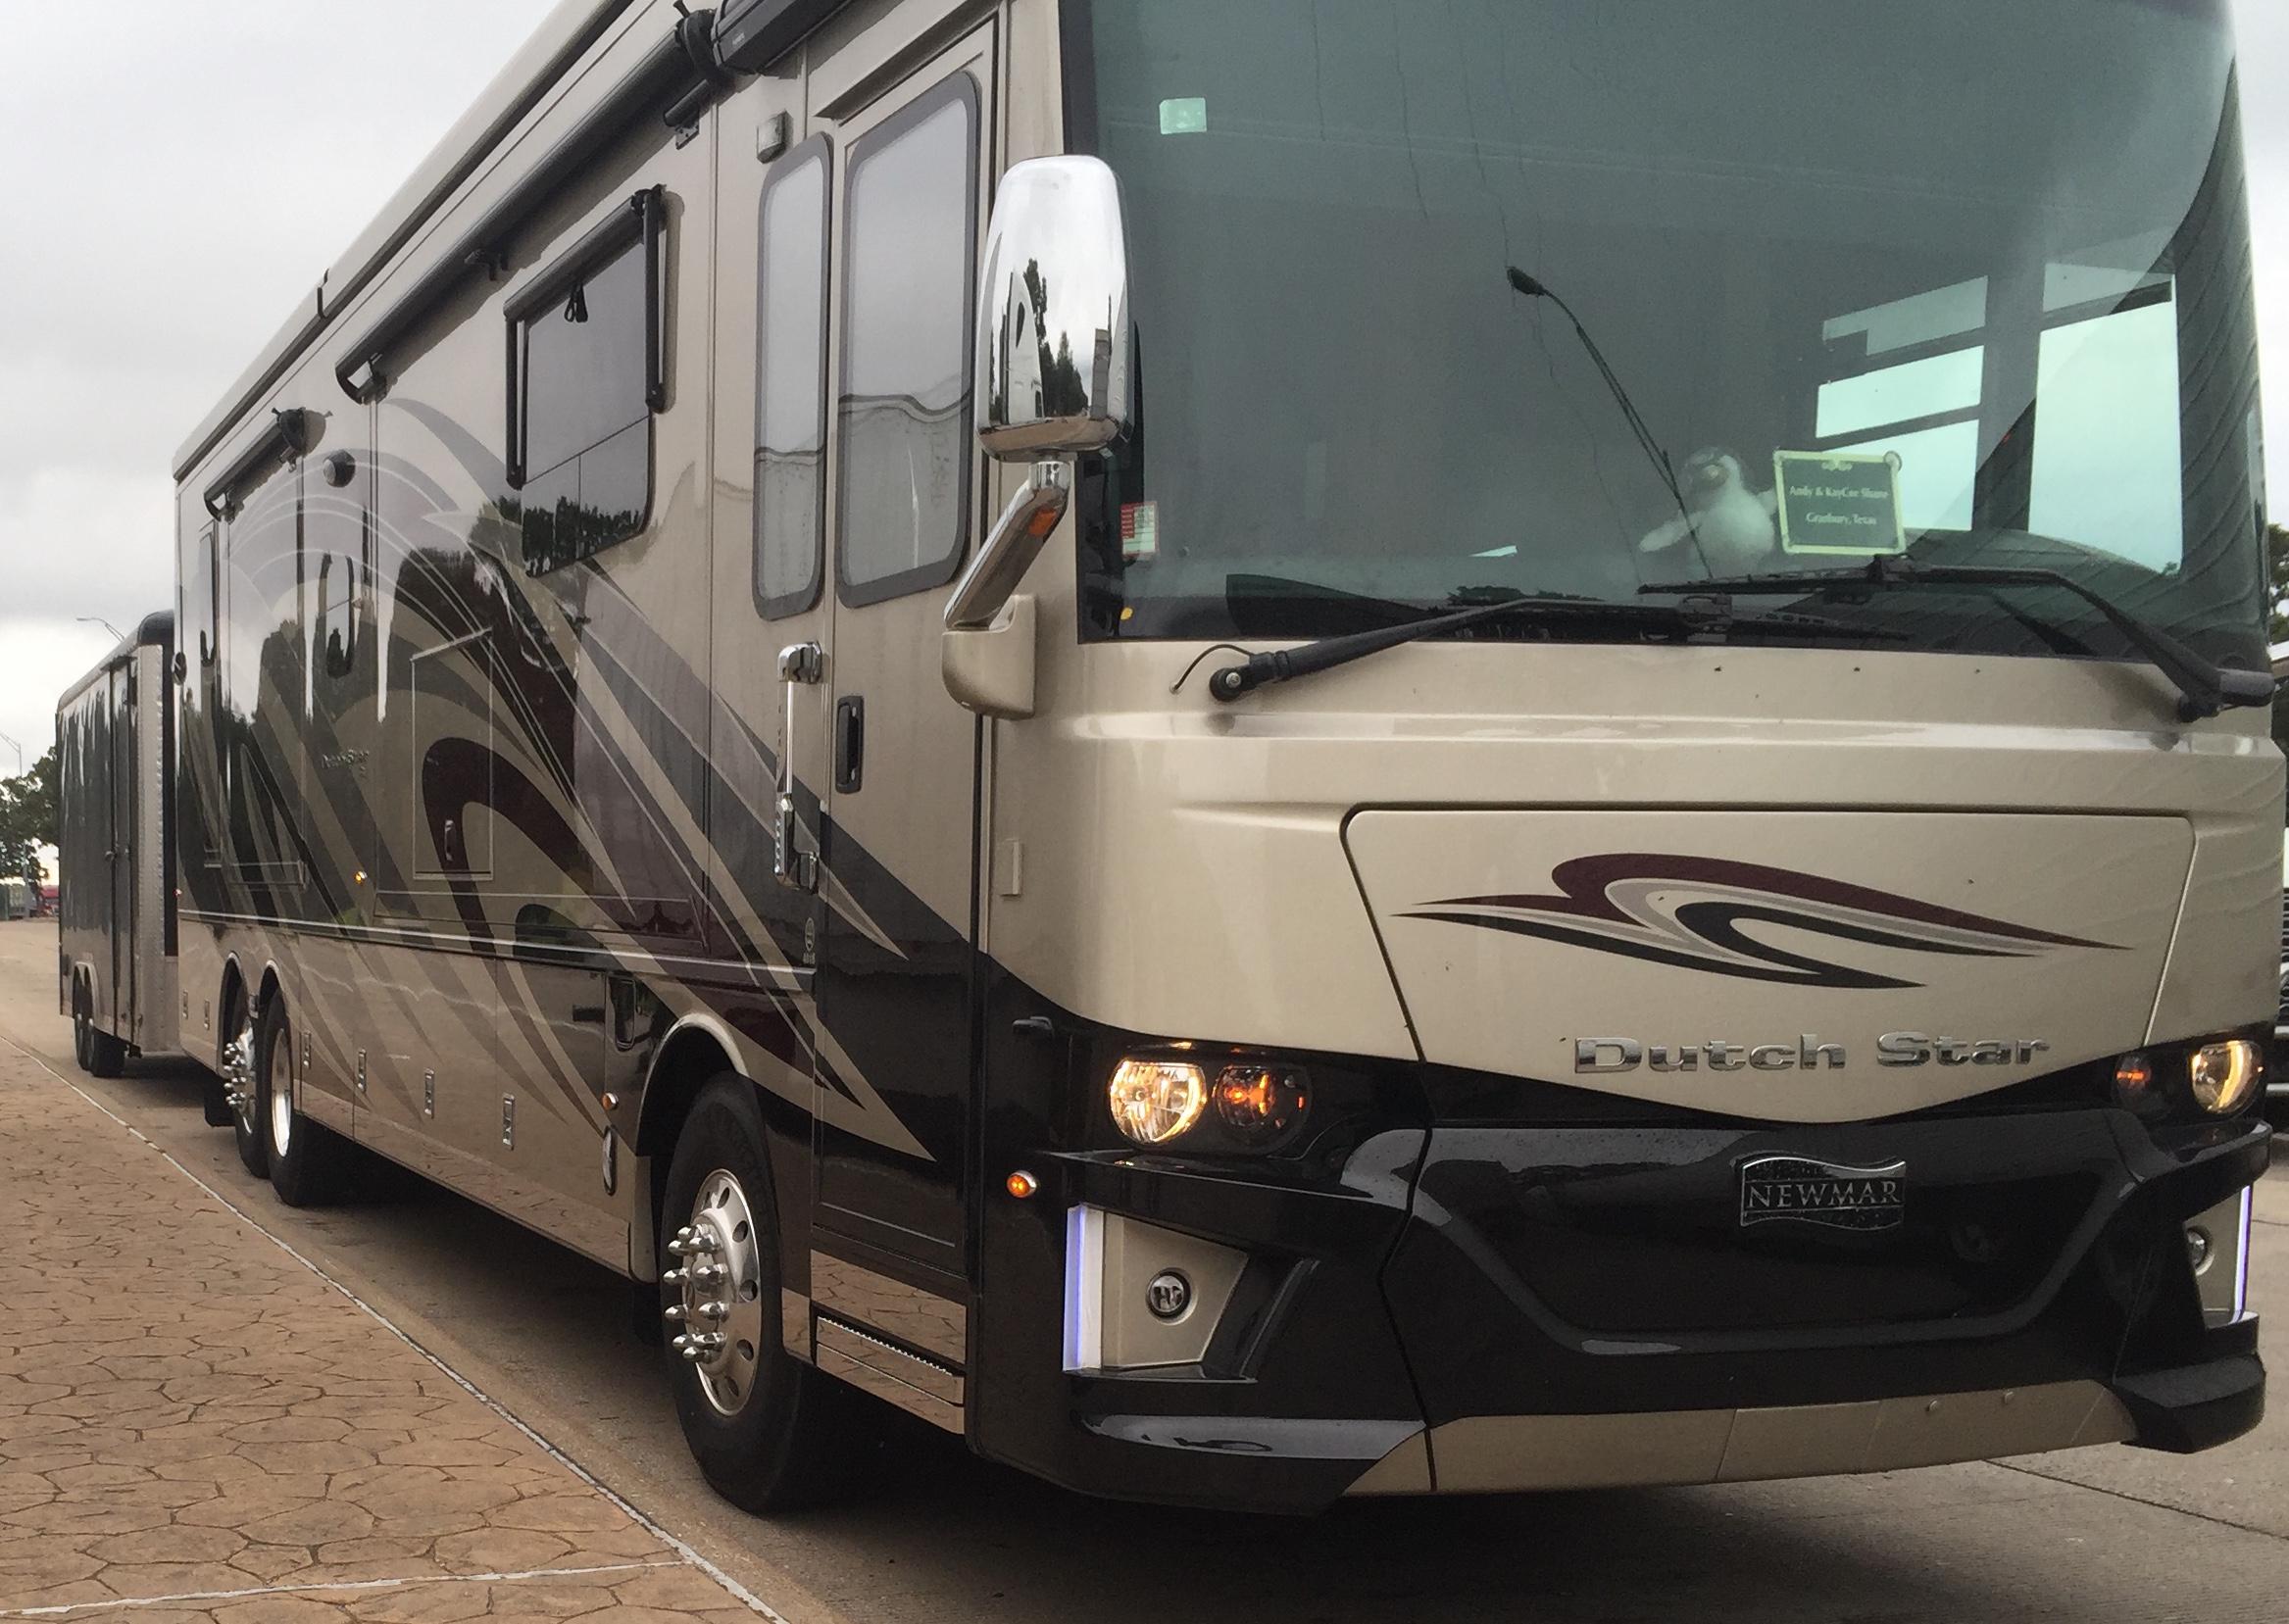
I've pored over both makes, talked to a dozen or so owners of each online. Fit and finish in the Newmar is not without flaws, but is significantly better than Entegra. In the materials department, I noticed the same difference mentioned above, with Newmar in the lead.
-
I've also been hoping to upgrade to a Monaco, once my airline employer wraps up what amounts to a tactical bankruptcy to wriggle out from under obligations to shareholders, vendors, employees. The Navistar offerings at Hershey seemed lacking in attention to detail, I came away from that experience with the resolve to avoid "transition" models, if our purchase is pushed too far down the road (targeting 3-5 year old coaches).
-
Wow. Great topic. I'll pay more attn to the peak torque rpm now, for sure. I've noticed in general, the eastbound drivers are turning in significantly better mileage. Indeed, Caterpillar says in the guide Brett mentions that we can reap a 12% fuel savings from wind alone. Plus, engines vary wildly: my C7 turns in the 7.2 avg of them all, which I can improve upon using the techniques you've been discussing. My buddy with his mammoth Libertyjust returned from a week of camping in Colorado, again beat 8.0 mpg for the trip, despite his heavier weight and 515 hp engine. Similarly, the couple from whom we bought our Fleetwood purchased a Newell and it got better mileage with more hp and a heavier bus.
-
TCi in Fort Worth was designated by the FMCA as my Michelin dealer, I'm glad they were. Superb service! The technician who installed my new front tires gave me the option of installing new valve stems, I asked for his input. "The rubber O-ring is the thing, we can't determine its condition without taking the stem apart; and, if we do that, we can't put it back together," he replied. The cost? Ten bucks. Of course, let's yank 'em off and install new ones, I said. It made sense; I mean, why seal old ones away for another five years? Well, the condition of the seven year old stem, once taken out, was not good. The chrome plating was coming off, the O-ring dried and brittle. "You won't believe the number of blowouts that start when that valve core yields," he says. Oh? It gave me chills to think I was on the verge of keeping the thing in place for a third set of tires... So, word to the wise: spend the $10 and have peace of mind.
-
To piggyback: we've gotten into the habit of seating these latches with the handle pulled, eg not slamming the doors like you do in a car. That minimizes the wear on this nylon latch.
-
Ditto. Two visits to Santa Fe Skies, happy both times. Best, the Santa Fe Brewing Company tasting room is just down the road...